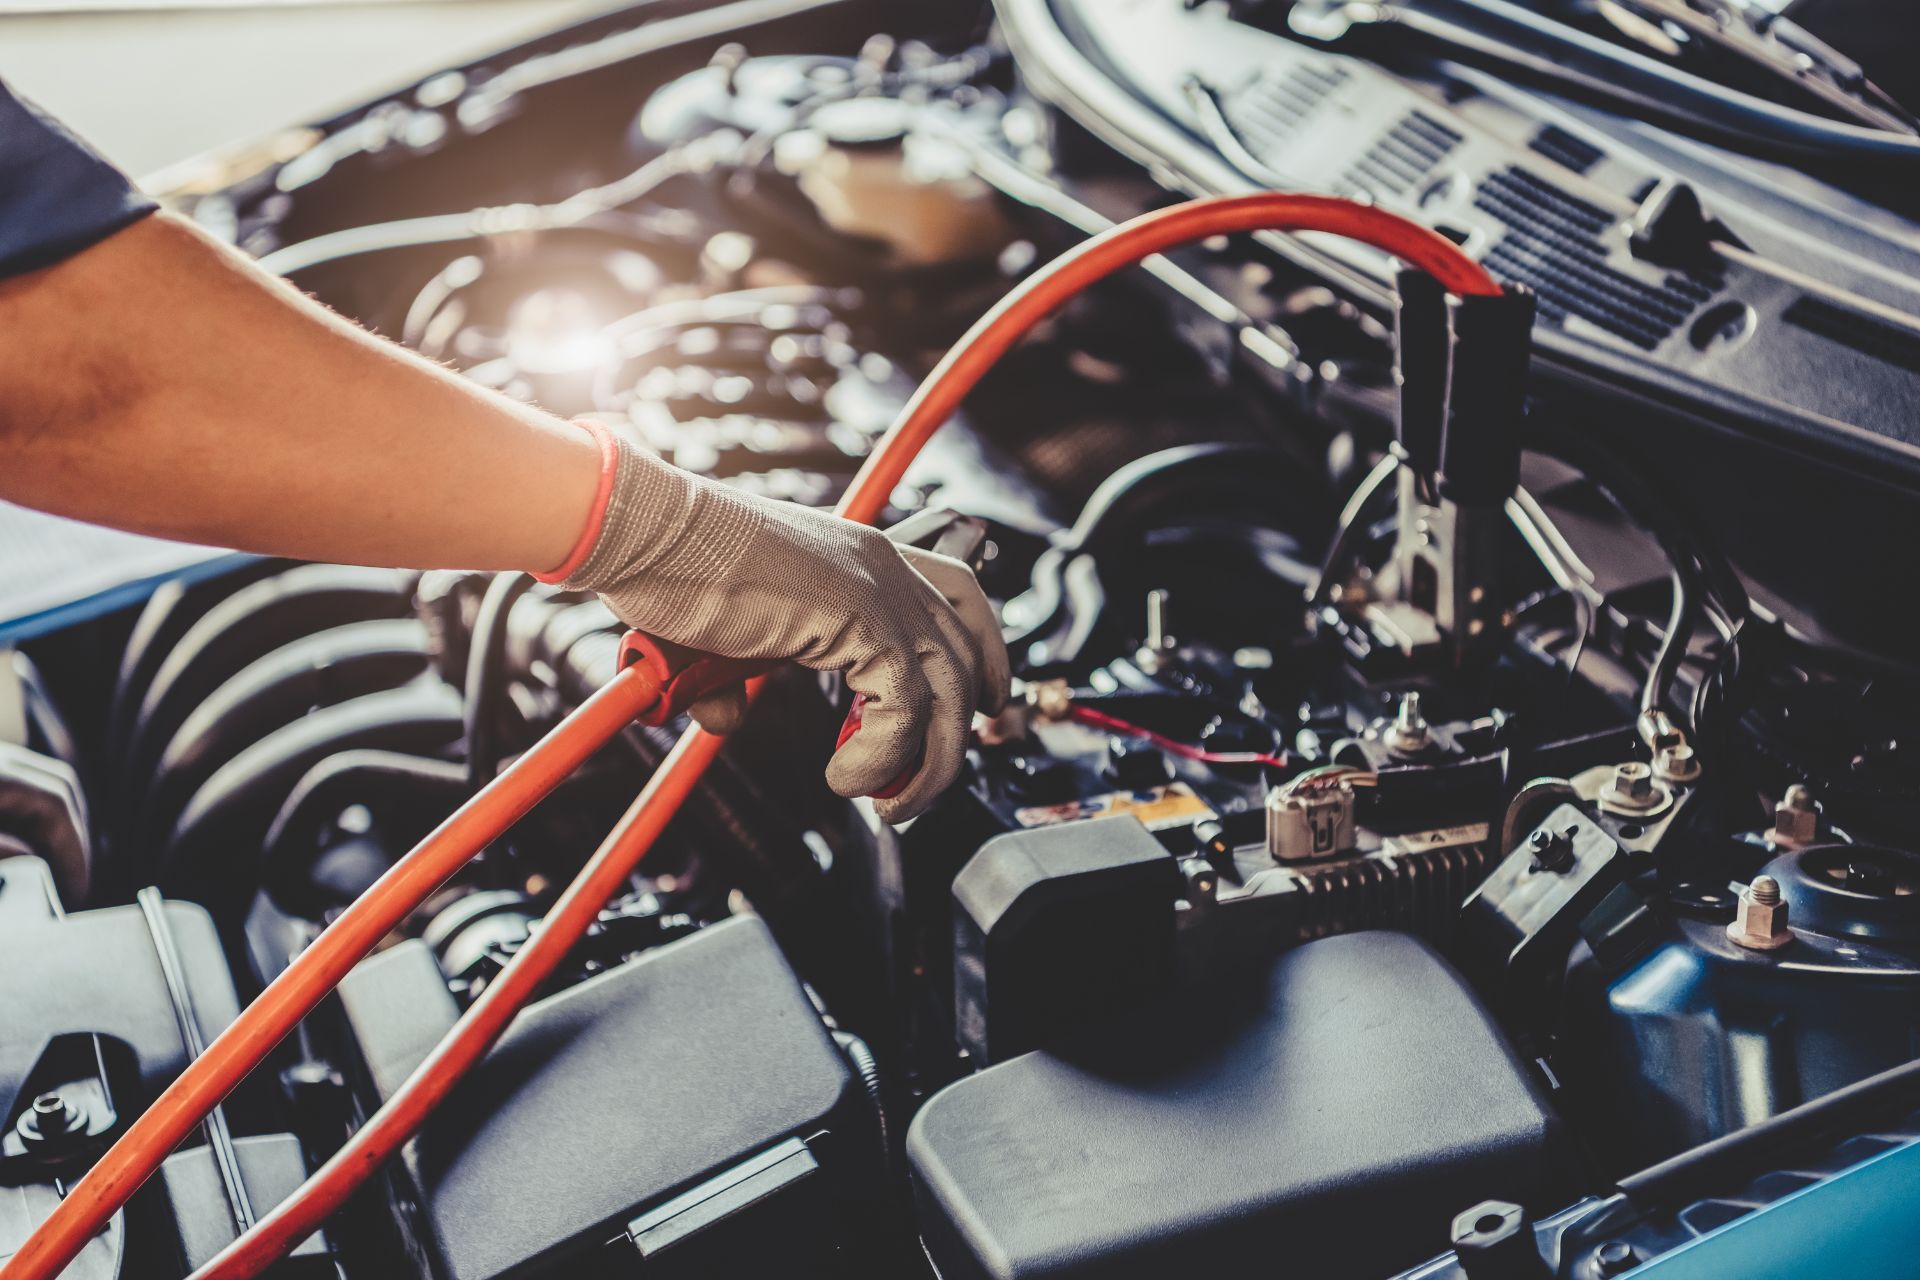
Tire Rotation Vs Wheel Alignment

Tire Rotation vs Wheel Alignment

Safety is an essential part of safe driving. You might feel your vehicle is moving around a lot, especially after hitting a large pothole. Our mechanics will ask you if you would like a wheel alignment or a tire rotation when you visit us for tire service. If you don’t know the car maintenance language, you may end up confused. You can make it easier and order the right tire service. Below, you will find information about the differences between wheel alignment and tire rotation.


What is Tire Rotation?

Tire rotation is recommended for vehicles that seem to move from one side to the other when you drive. Tire rotation, also known as wheel or tire balancing, involves moving tires from one side to the other to ensure even wear.

Because they are the first point of contact with the road surface, your vehicle’s tires will wear over time. Due to friction levels, tires can experience uneven wear. For example, rear-wheel drive vehicles tend to have less wear on their front tires than they do on their rear tires. Inequal weight distribution can lead to uneven tire wear.

To ensure that tires are wearing evenly, it is important to rotate them every now and again.


What is Wheel Alignment?

A wheel alignment might be necessary if your vehicle is constantly drifting to one side when you drive straight. The process of aligning the front tires on your car to make sure they match the steering and tires at the rear is called wheel alignment. A large pothole in your car’s road can cause wheel alignment problems. Unaligned wheels can cause uneven tire wear and tire movement, as well as a decrease in vehicle performance and steering ability.

After detecting the problem, wheel alignments should be performed as soon as possible.


To Wrap It Up

You can reduce tire wear and improve fuel efficiency by rotating your tires. However, it is important to fix unaligned wheels immediately after discovering the problem. This can cause serious damage to your vehicle.

Absolute Car Care will perform comprehensive tire safety checks to ensure your vehicle is safe. This includes wheel alignment and wheel rotation. We will inspect your vehicle using the HawkEye Elite alignment machine.

TrilliTires can diagnose your problem if you live in Richmond Hill or the Greater Toronto Area. Our family-owned business has been in operation for more than 12 years. We are known for our friendly service. For more information, call us at 905-883-1118 or send us a message online.

 

Jump Starting A Car Battery 101

Jump Starting A Car Battery 101

Jump-starting your car for the first time was a right of passage for some. Jump-starting your first car can be daunting for those who haven’t had to deal with a dead battery before. Although it is quite simple, it is important to be careful when working with your engine.


You may have a dead car battery due to accidentally leaving your headlights on. Or you need to troubleshoot electrical system problems like your engine not starting. Knowing how to jumpstart a vehicle is essential for car owners. Let’s jump right in.


How to jump-start your car


You will first need jumper cables and a battery to boost the vehicle (either in another car or a standalone battery). Jump-starting your vehicle with a partner is advisable.


Here are some things to keep an eye on


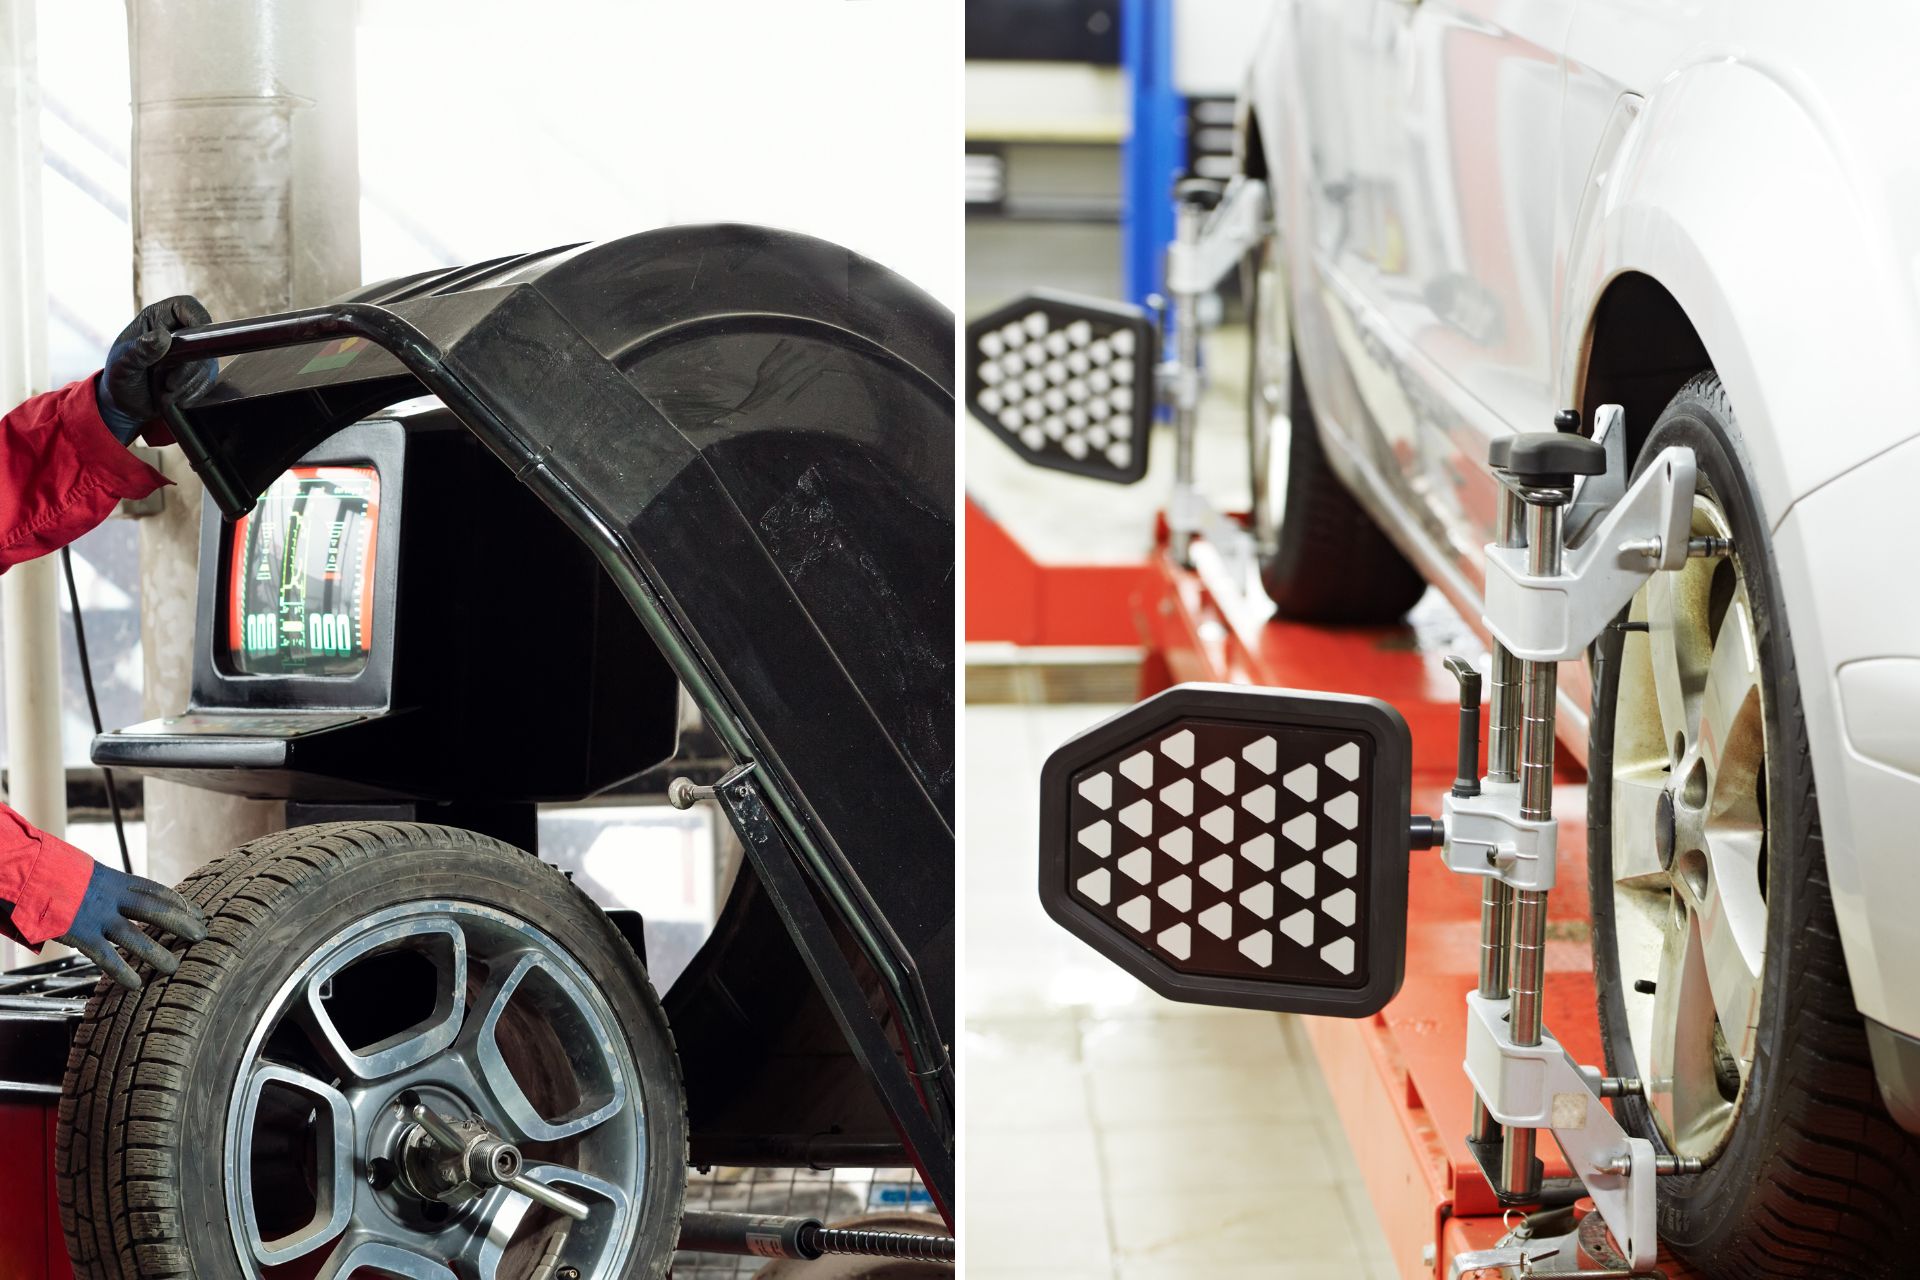
Jump-starting your car safely is as simple as connecting your cables correctly from the battery to the booster car. Also, ensure that your jumper cables do not touch any metal parts or other metal parts of your vehicle.


Step-by-Step Guide to Jump-Starting Your Car


  1. The jumper vehicle should be pulled next to the dead battery. If you are using separate batteries to jump, ensure your cables can reach both. Turn off both engines by opening the hoods.
  2. Move over to the dead battery. Connect one of the red (positive), ends of your jumper cable to the positive terminal.


While you are not using your negative terminal you must ensure that you have uncharged ground available while setting up. This means placing the negative end of your jumper cables on a plastic (non-metal/non-conducting) part of your engine for the time being. If you’re doing this with a partner you can ask them to hold the negative end for you while you connect everything else.


  1. Connect the red (positive) end of the cables to the positive terminals of the live battery.
  2. Grab the black (or negative) end of your jumper cable and connect it to the live side. It should be connected to the negative end of the battery.
  3. Return to the terminal of your dead battery, and stop. Many people feel tempted to connect the negative end of their jumper cables to your dead battery’s negative post. This is a mistake. Connecting the negative end of your jumper cables directly to your dead battery can cause a spark that could ignite in a gaseous environment such as your vehicle’s engine.


Instead, look for a ground to connect to. In this instance, an unpainted, non-moving metal surface underneath your car’s hood. You may find a ground spot for jumping your car on some newer cars. Check your owner’s manual to confirm. This could be a bolt on an engine block or on the strut tower. Avoid using ground near fuel sources, such as grounds near your fuel pressure regulator.


  1. Before you jump the battery, make sure to check your cables. To avoid your cables getting caught in moving parts of the engine, ensure that they are not touching cooling fans or serpentine belts.
  2. Start the engine with a good battery. Let it run for at most two minutes. After the engine has been running for some time, turn off the ignition and start your dead vehicle.


If your dead battery doesn’t start at this point, wait 2-3 minutes before giving it another chance. If your engine does not start immediately or you have trouble starting it, you might be experiencing a solenoid or an electrical problem. In this event, you should contact your mechanic.


  1. After your dead battery is fully charged, you can disconnect the jumper cables in reverse. The negative ground should be disconnected first. You should make sure that the ends don’t touch.


You can work with a partner to remove the positive cable from an old battery port. They will then hold the cable while you unplug the battery.


If you’re working alone, I suggest that you remove the negative jumper from your dead battery. This will ensure that you have only the positive to negative connection left, which can prevent any sparks or frightening moments. Now you can safely remove the positive cables from your battery posts and replace them with the caps.


Nevertheless, it is far from done. After your engine starts, ensure you don’t turn it off for more than 15 minutes. You should have enough time to charge your battery. If you continue to experience the same problem when you try to start your car the next time, it could be a sign of a more significant issue such as a failing alternator, or battery.


TrilliTires technicians are highly skilled in diagnosing and fixing problems with electrical engines. Call us or book an appointment online. We are open Monday through Saturday.